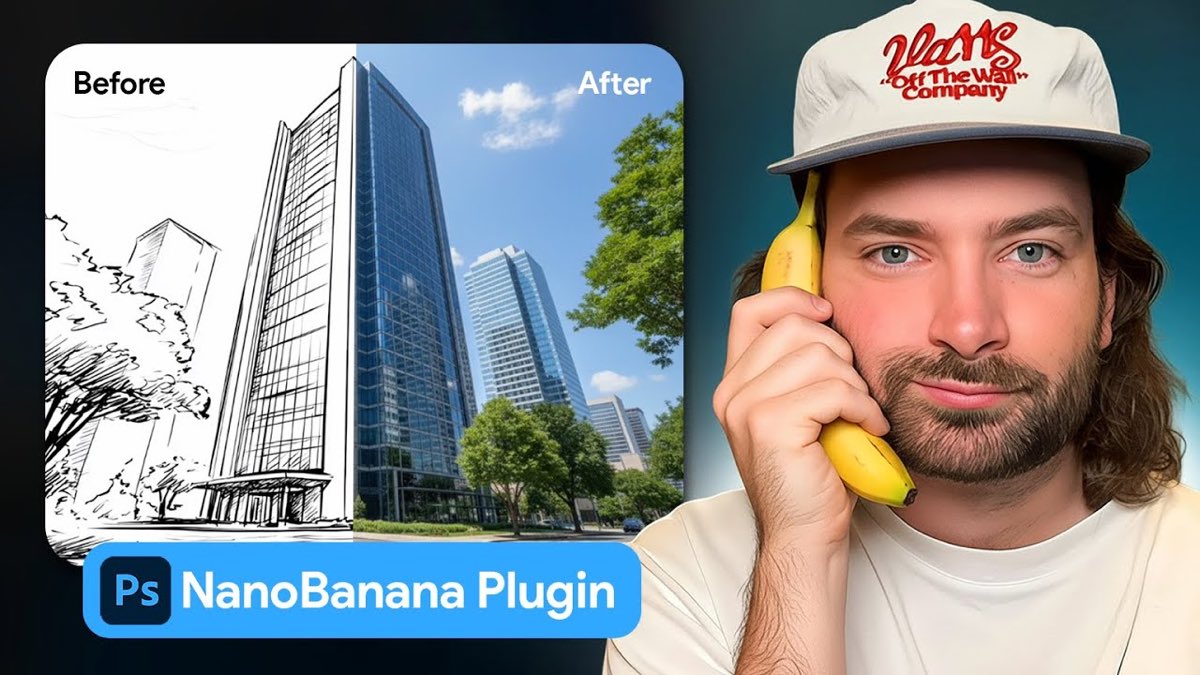
How to Use Nano Banana Inside Photoshop (Full Setup and Workflow)
Most people are using Nano Banana in a browser, typing a prompt and hoping the model changes the right part of the image. It usually changes more than you wanted.
Running it inside Photoshop fixes that, because you get to draw the selection yourself. You decide the exact pixels the model is allowed to touch, and everything outside that selection stays untouched. That level of control is the difference between a fun toy and something you can hand to a client.
Here is the full setup and workflow.
What this actually lets you do
A few of the jobs I use it for:
Material swaps. I had a sofa generated in Midjourney and a fabric texture on another layer. Select the sofa, feed the texture, and the upholstery changes while the room, the light and the shadows stay exactly as they were. That is a long manual job done in seconds.
Sketch to photoreal. I painted a rough snake coiling around a building with the brush tool, badly, on purpose. Selected it, ran it, and got a photorealistic snake that sits in the scene. Nothing else in the image moved.
Text replacement in style. Select the label on a bottle, change the wording to whatever you want, and it holds the original typeface and finish.
Product and logo placement. Take a sketch design, add a reference photo of a logo, and get a 3D render of a custom helmet with the logo placed correctly.
Retouching. Select a face and apply makeup with a glossy finish, without touching the rest of the frame.
Layout mockups. I pulled a set of product photos from a brand site and asked for a homepage mockup. It laid the images out, added text, added pricing, and pulled in the logo and the brand tagline even though neither appeared in any of the source photos.
What you need before you start
Three things, and yes, two of them cost money:
Photoshop. Adobe's own generative fill exists but the training data is weaker and you get far less freedom, which is exactly why we are doing this.
A Replicate account with about $10 of credit on it. Replicate is an API platform, the connection layer between Photoshop and the model, because Photoshop does not offer Nano Banana natively.
The plugin itself, which was $9 at the time of recording.
Nineteen dollars to unlock pixel level control over an image model. I would take that trade every time.
Installing it
Six steps, in order:
Sign in to Replicate. It wants a GitHub account. Signing in with Google will create one for you, which is the path of least resistance.
Add credit. Go to account settings and add $10. Leave the auto reload option unchecked, because you do not want it silently topping itself up.
Create an API token. In the API tokens section, name a token something you will recognise, hit create, then copy it to your clipboard.
Download the plugin and find the file in your downloads folder.
Drop it into Photoshop's scripts folder. On Mac: Finder, Applications, Photoshop, Presets, Scripts. Drag the script in there.
Fully quit Photoshop and reopen it. Not your whole computer, just Photoshop. It will not appear until you do.
After the restart you will find it under File, then Scripts, near the bottom of the list. Click it once and it will throw an error telling you to make a selection first. That error is a good sign. It means the install worked.
Make any selection, run the script again, and it will ask for your API key. Paste it in, hit update, wait for the confirmation, and you are done.
The workflow: select first, then run
This is the whole discipline of the tool, and it is worth internalising because it is the opposite of how you use these models in a browser.
In a browser you write a prompt and hope. Here you define the region, then write the prompt, and the model can only operate inside what you drew. Your selection is the brief.
So the quality of your output tracks the quality of your selection. Sloppy edges give you sloppy blends. Take the extra thirty seconds with the selection brush.
What each generation costs
Roughly four pence a generation through Replicate, which works out cheaper per image than running the same model through most hosted platforms. If you are iterating heavily, and you should be, that difference adds up quickly.
Where this sits in a real project
I do not use this to generate images. I use it to finish them.
The generation happens wherever it happens, in your image model of choice. Then this is the cleanup and control layer: fix the text the model mangled, swap the product, place the logo properly, retouch the skin, correct the one element that is wrong in an otherwise perfect frame.
That last case is the one that earns its money. Regenerating a whole image because one detail is off costs you the parts that were already right. Selecting that detail and fixing it in place keeps everything you liked.
Common questions
Can you use Nano Banana in Photoshop?
Not natively. Photoshop does not ship with it. You connect the two with a third party plugin and a Replicate API key, which takes about ten minutes to set up.
Is this better than Photoshop's generative fill?
For most creative work, yes. Adobe's generative fill has a weaker training set and gives you less flexibility. The advantage here is that you combine a stronger image model with Photoshop's selection tools, which no browser interface can match.
How much does it cost to run?
About $19 to get started, roughly $10 of Replicate credit plus around $9 for the plugin, then about four pence per generation after that.
Do I need to know how to code?
No. The only technical step is copying an API token from one page and pasting it into a box, and dragging one file into a folder.
What is an API in this context?
It is the connection between two tools that do not natively talk to each other. Photoshop does not host the image model, so the API passes your selection and prompt out to where the model lives and brings the result back.
Want the rest of the image workflow, from prompt structure to finishing? Join the community.