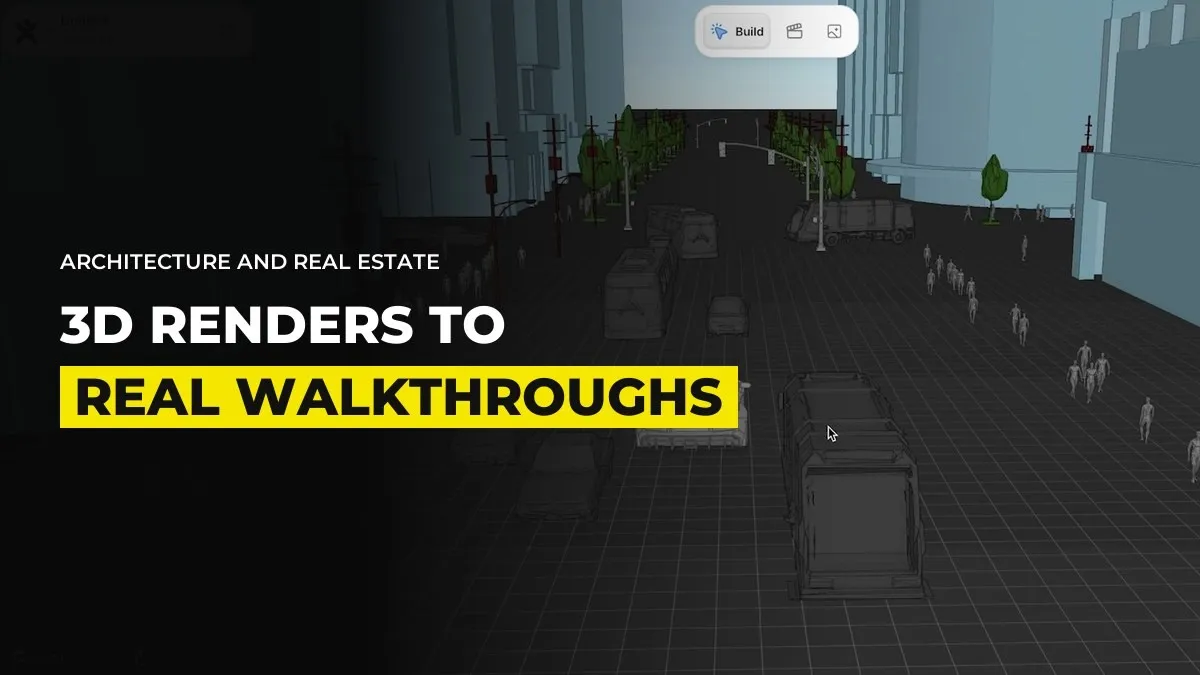
How to Turn 3D Architectural Renders Into a Realistic AI Walkthrough
You might have a 3D render from an architect that looks flat and plastic, and a client who wants a building that feels real, on a real afternoon, with people walking through it. Cutting the render into clips and handing them to a video model usually ends badly. Doors stretch, walls drift, and the room seems to change halfway through a shot.
The fix is to give the model less. Strip the render down to plain grey blocks, keep the camera move, and let the video model rebuild the light and the materials on top. Here is the method we use, as of October 2026.
Why a finished render confuses the video model
A 3D render already has textures, colours and lighting. If you upload it as a reference and also upload a realistic image of the same room, the model has two strong looks to choose from. They fight each other. The result looks like a dimensional shift, where the room flips between the render version and the photographic version in the middle of the shot.
The same thing happens when your blockout is too detailed. Whatever detail you leave in the guide bleeds into the final video. So the job is to remove everything the video model should invent for itself.
Rebuild the render as plain grey blocks
You do not need to model the building from scratch. Use the architect's own footage:
Upload a few clips from the render to ChatGPT Astra 6 or Claude Opus 5.5, connected to Blender.
Ask it to recreate the scene as simply as possible, with no textures and no colour, and to keep the same camera move.
Check that walls, floors, windows and doors read as simple grey shapes. A door can be a grey panel.
Export the camera move as a short clip.
Keep the Blender scene as bare as you can. Use the agent you already pay for. Both can do this job, and our guide to Blender camera control covers the setup.
Make the realistic look as a still image first
Now take a screenshot of the frame from the original render and give it to GPT Image 2 or Seedream 5 Pro. Ask for the same room as a real photograph, with the light you want. Seedream 5 Pro is our pick for cinematic locations, and GPT Image 2 is strong when the shot has small details or text on signs.
Do this once for each space the camera visits. A walkthrough that goes from the front door to a reception area to a kitchen needs three location images. Each one is a reference that tells the video model what the place looks like, so the building stays the same from shot to shot. If you want more on holding a space steady, read how to keep consistent locations across shots.
Give Seedance 2.5 the blocks and the stills together
This is where the two halves meet. In Seedance 2.5, attach the location image and the grey Blender clip, then write a prompt that describes the light, the time of day and the materials. The grey clip controls where the camera goes and where the walls sit. The still controls how everything looks.
Because the grey clip has no texture or colour, the model has nothing to argue with. It takes the style from the image and the movement from the clip.
For example, a shot that starts outside a house and moves through the front door needs two location images, one for the exterior and one for the hallway, plus the grey clip of the door opening and the camera passing through. The prompt says what the light is doing, such as low late sun through the glass.
Three habits keep the cost down:
Test the shot at 480p. The layout does not change when you render at full quality.
Use Draft mode (Preview on Dreamina) to check timing and blocking. It renders a rough version in a minute or two and drifts from your references, so never judge the final look from it.
Fix problems at the source. If a door stretches or the camera orbit goes wrong, change the animation in Blender or add a line to the prompt. You have full control there, so use it.
Only build what the camera sees
You do not have to model the whole development. If the camera only passes the front, the hallway and one room, those are the only spaces that need grey blocks and location images. Taking a screenshot of every possible angle of a full 3D model is a poor use of credits.
An unfinished building is an advantage here. If the architect's render only shows part of a space, you have room to design the rest. The video model fills in what the plans do not show, and you decide how it looks before it reaches the client.
For example, inside GenHQ the Blender training shows how to build a grey scene, set a camera path and bring it into Seedance, and it works for real estate, commercials and film in the same way.
Check every frame against the drawings
This is the step that decides whether the client trusts the result. The model is very good at making a room feel real and it will happily invent a window, a skirting board or a ceiling height that the plans do not have. Before anything goes to the client, put the architect's drawings next to the finished frames and look for the details the model made up. Anything that contradicts the plans gets fixed in the grey layout and generated again.
Common questions
Can AI turn an architectural render into a realistic video?
Yes. Reduce the render to a plain grey Blender scene, make realistic stills of each space, and give both to Seedance 2.5 with a prompt for the light and materials. The layout comes from the grey clip and the look comes from the stills.
Why does my AI walkthrough keep changing between shots?
Usually because the reference is too detailed or two references disagree. A coloured render plus a photoreal still gives the model two looks to choose from. Strip the guide video back to untextured grey and the flips stop.
Do I need to know Blender to do this?
No. You can ask an AI agent to rebuild the scene in Blender from the architect's footage. You only need to check that the shapes and the camera move are right.
Is a walkthrough made this way accurate enough to show a client?
Only after you check it against the drawings. The look will be convincing, but the model can invent details, so compare every frame with the plans before it leaves your desk.
Keep reading
How to Make Realistic AI UGC Ads (Without the Plastic AI Look)
How to Deliver an AI Project a Client Will Pay For (Pre-Production First)
Want to learn this with people doing it every week? Join GenHQ.